Curtsy Lunge
Activation
Muscles worked
Movement
Lunge
Beginner · Bodyweight
Primary muscles
Movement pattern
Equipment category
How to perform
- 1
Set up
Stand tall with feet hip-width.
- 2
Execute the movement
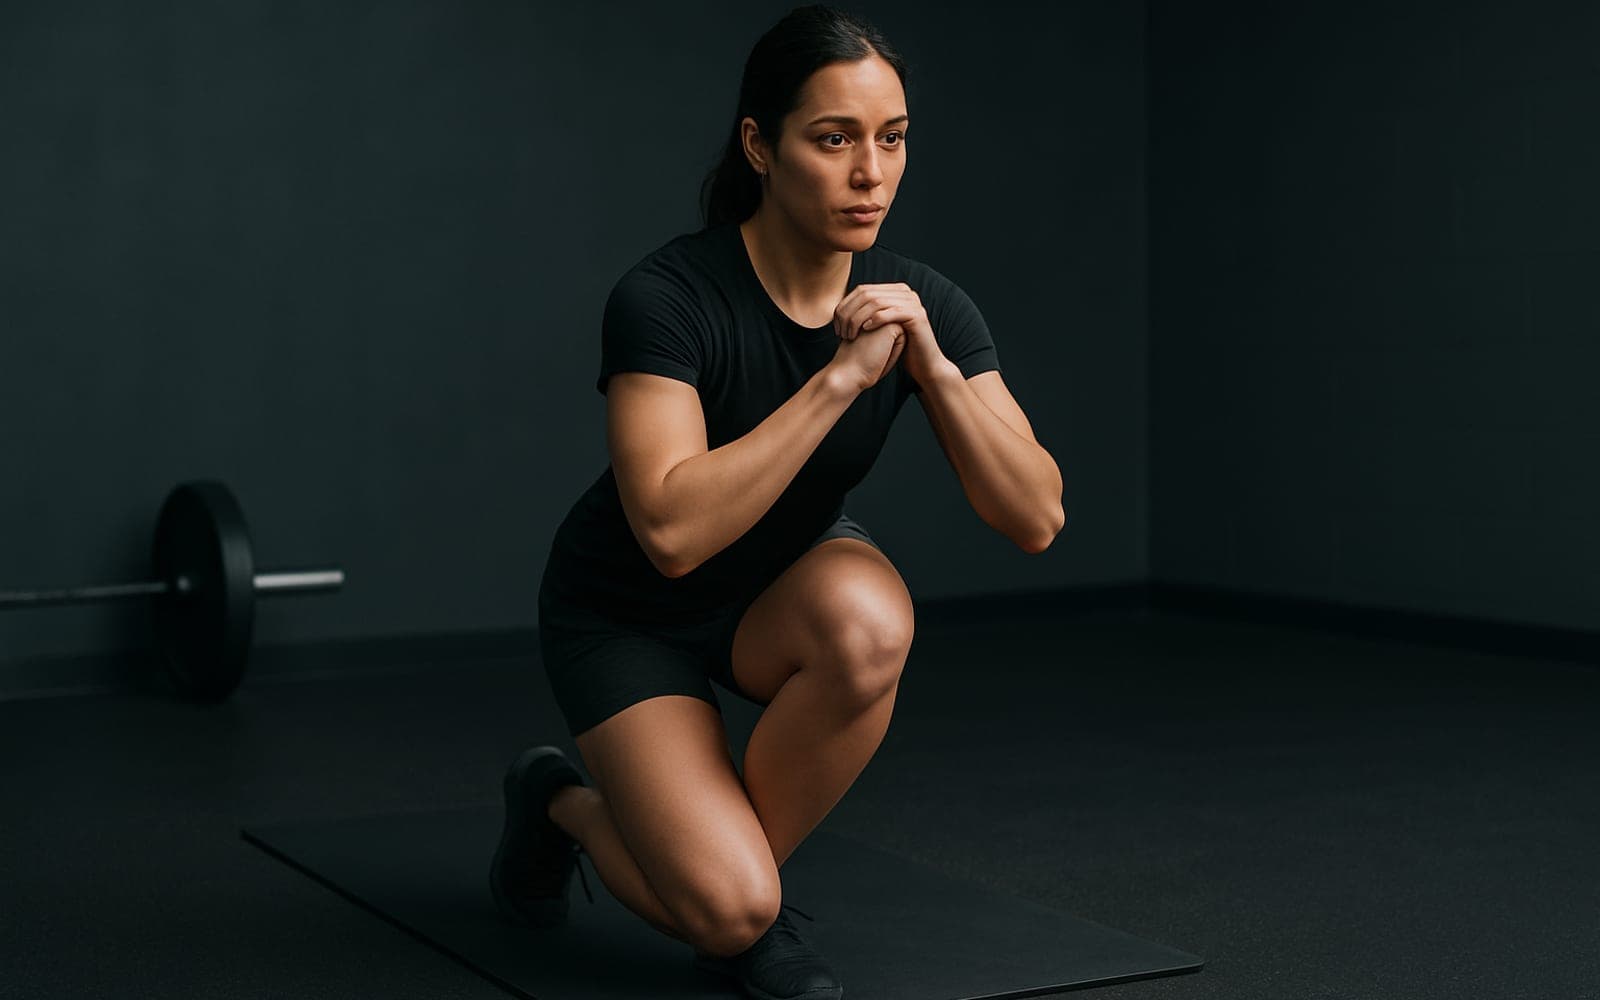
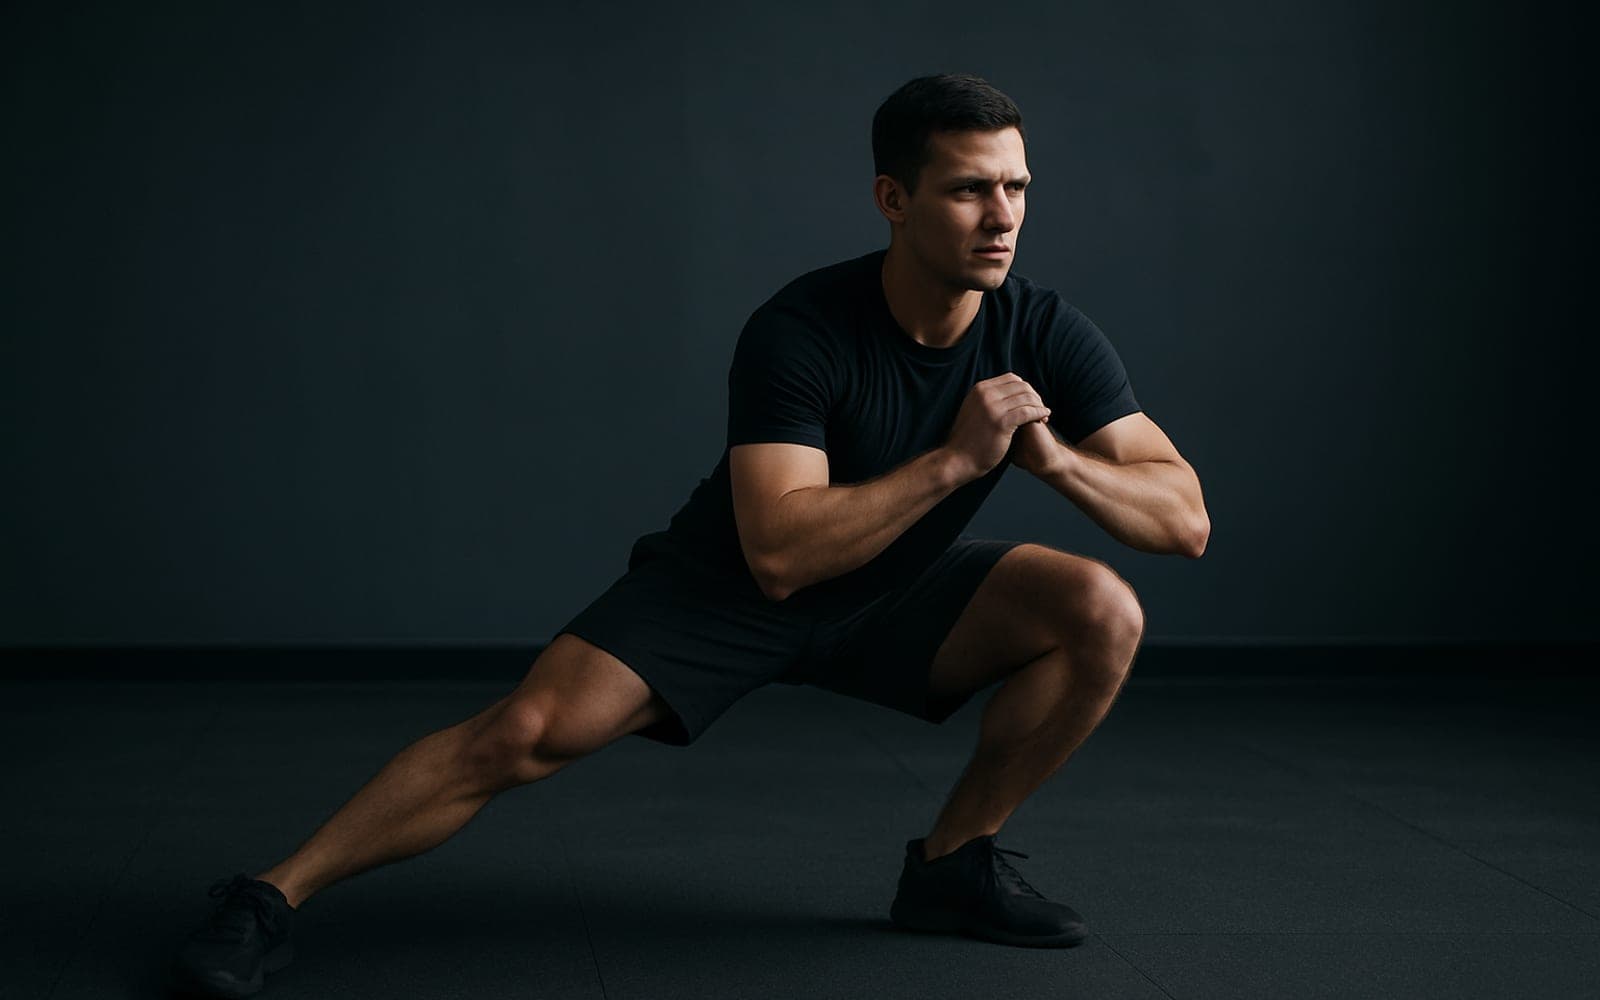
Step one foot diagonally behind and across, lowering into a lunge; drive back to standing. Emphasizes the glute medius.
Common mistakes
- Front knee caving inward
- Twisting the torso
Make it harder
Make it easier
Substitutions
If a machine is busy or unavailable, these train the same pattern a different way.
Your progress over time
What to expect from training this consistently — everyone progresses at their own pace.
- 1
First few sessions
Learns movement pattern and foot placement, develops basic balance and coordination, and can perform controlled reps with bodyweight or very light load.
- 2
Weeks 2–4
Builds muscular endurance in the glutes and quads, improves single‑leg stability, and can increase reps or add light resistance bands for greater muscle activation.
- 3
Months 2–3
Able to handle heavier loads or weighted variations for multiple sets, with measurable increases in unilateral leg strength and visible improvement in glute tone.
- 4
Months 4–6
Noticeable hypertrophy of the glute medius and overall glute complex, improved balance and control during other unilateral tasks, and greater carryover to squats and step patterns.
- 5
6+ months
Performs advanced progressions (loaded curtsy lunges, tempo changes, or higher volume) confidently, with durable unilateral strength, improved lateral stability, and reliable transfer to daily and athletic movements.
Benefits of the curtsy lunge
Targets the glute medius and glute max to build hip strength and improve the shape and endurance of the posterior chain.
Develops unilateral leg strength and muscular balance, reducing side-to-side strength discrepancies.
Engages quads and adductors as secondary movers, contributing to overall thigh development and joint control.
Improves single‑leg stability and balance, which helps with walking, stepping, and changing direction.
Emphasizes lateral hip control, which supports healthier knee tracking during dynamic movements.
Scales easily for beginners through advanced lifters, making it a practical exercise for progressive muscle and fitness gains.
Exercises that pair with this
Same muscles or the same movement pattern — useful for building the rest of the session.
Curtsy Lunge — questions people ask
What muscles does the curtsy lunge work?
The curtsy lunge trains the glutes as the primary target, with the quads, adductors working as support. It is a lunge pattern, so it also trains the coordination that pattern needs.
How many sets and reps of the curtsy lunge should I do?
Three sets of 8–12 reps with about 90 seconds of rest is a reliable default. Increase the weight once the last rep of every set still looks clean.
Is the curtsy lunge good for beginners?
Yes. The curtsy lunge is a beginner-friendly movement. Reduce depth; hold support for balance. If it feels like too much, build the pattern on the leg press first.
What can I do instead of the curtsy lunge?
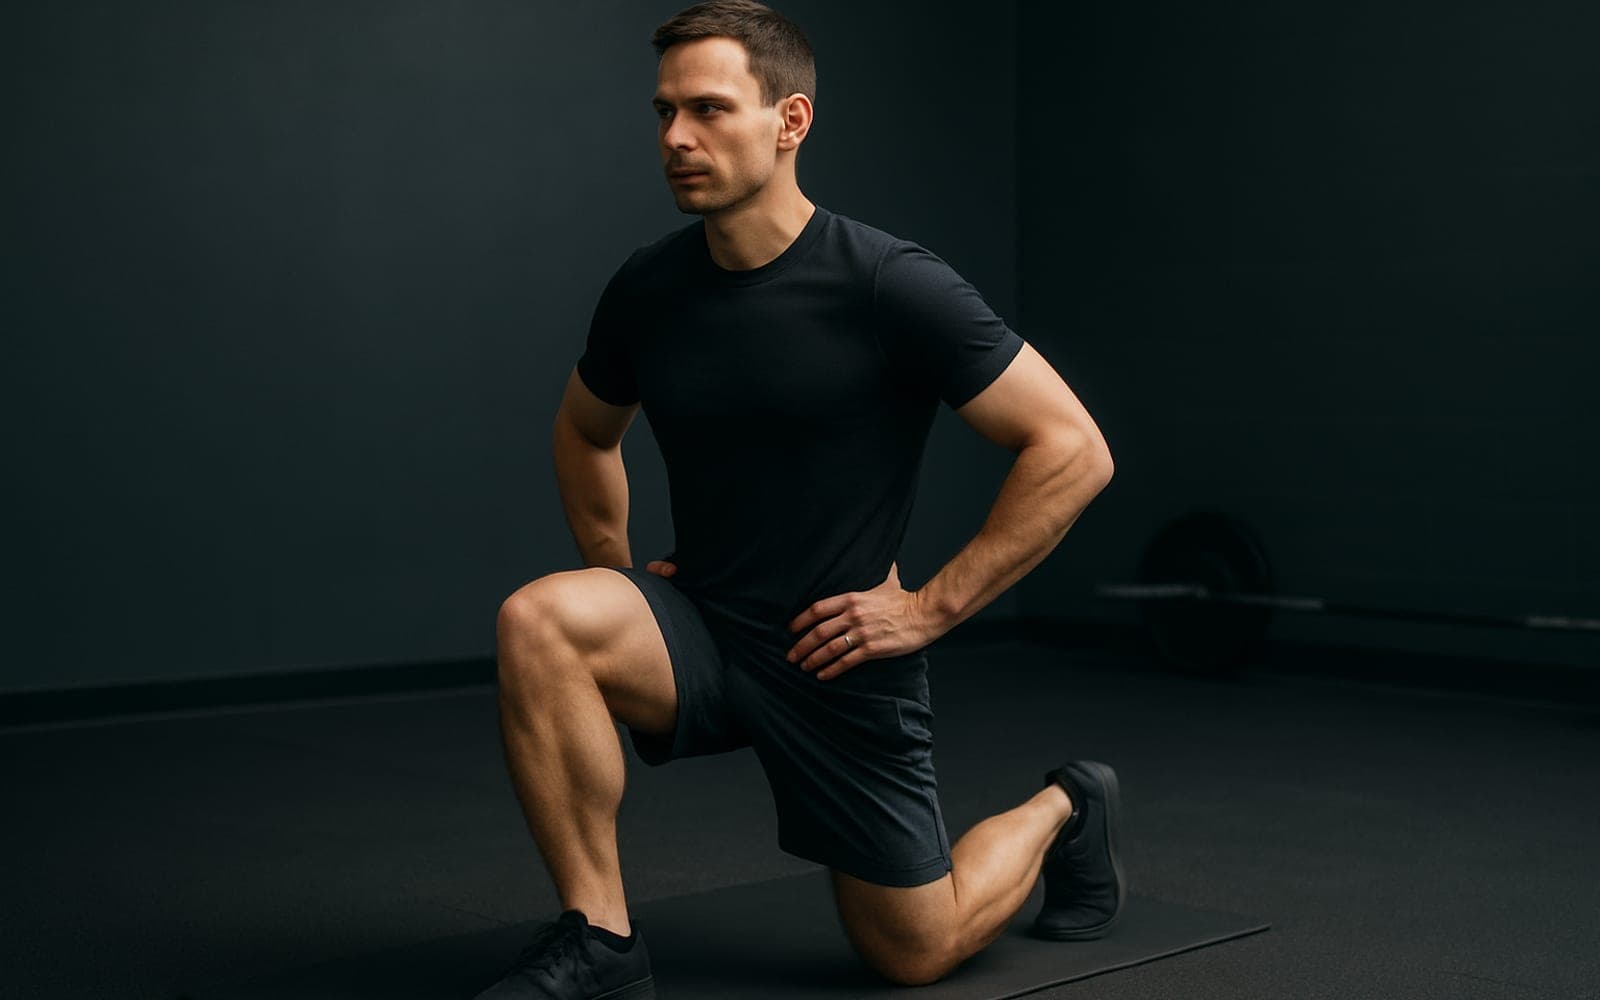
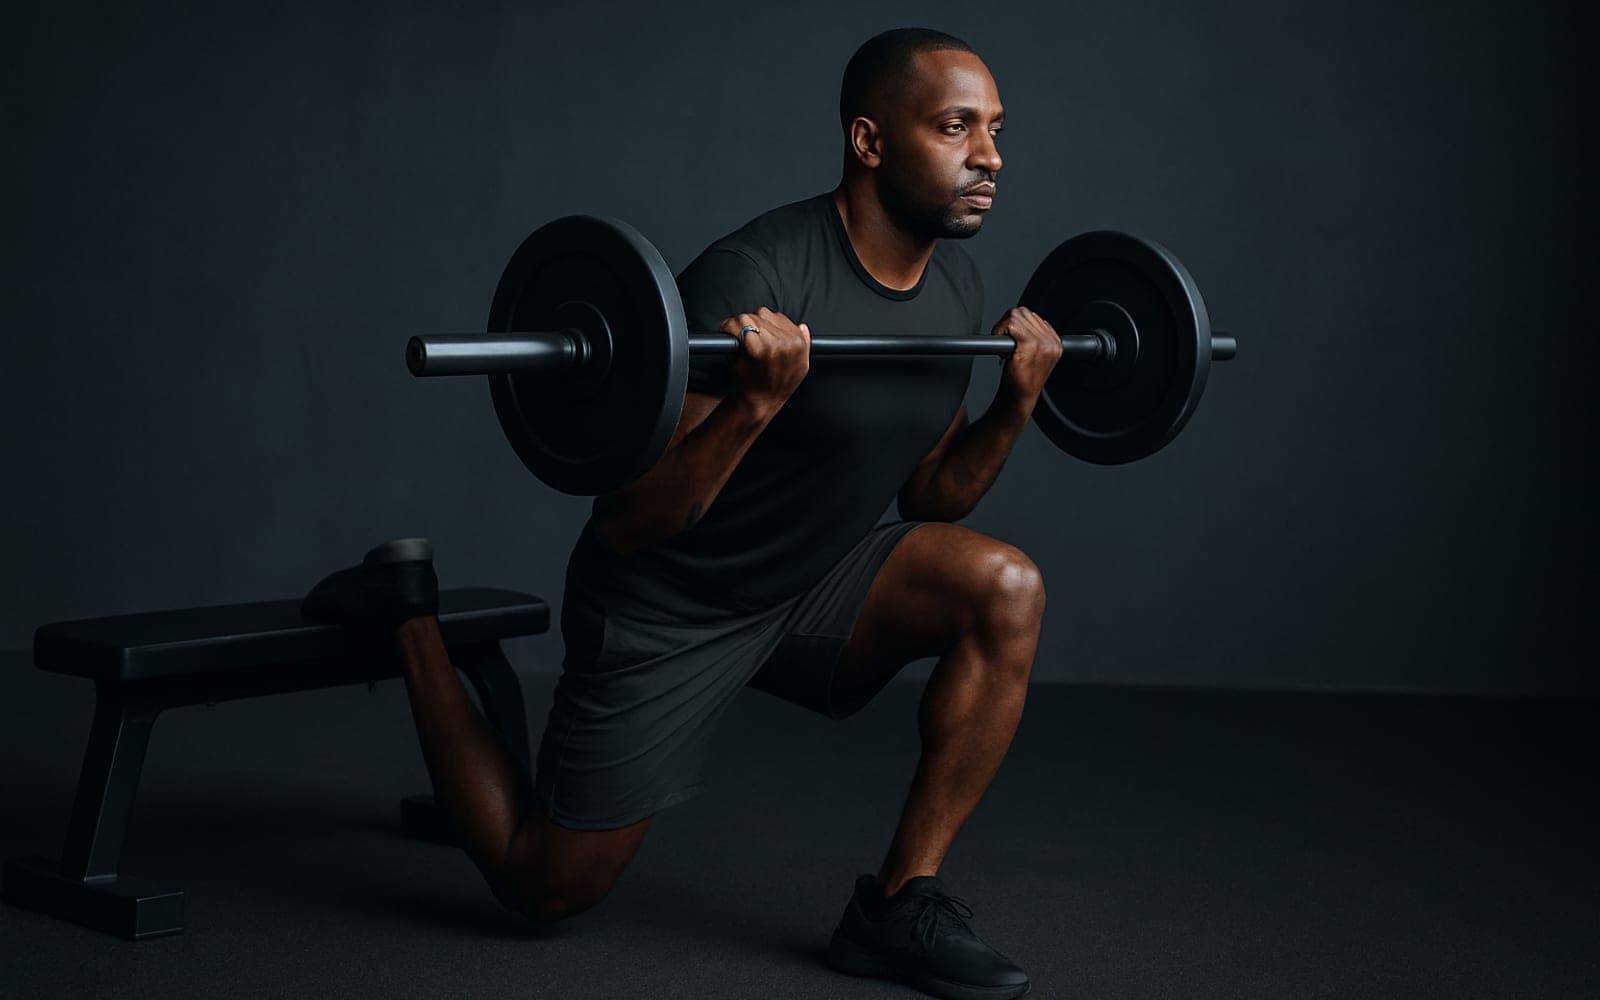
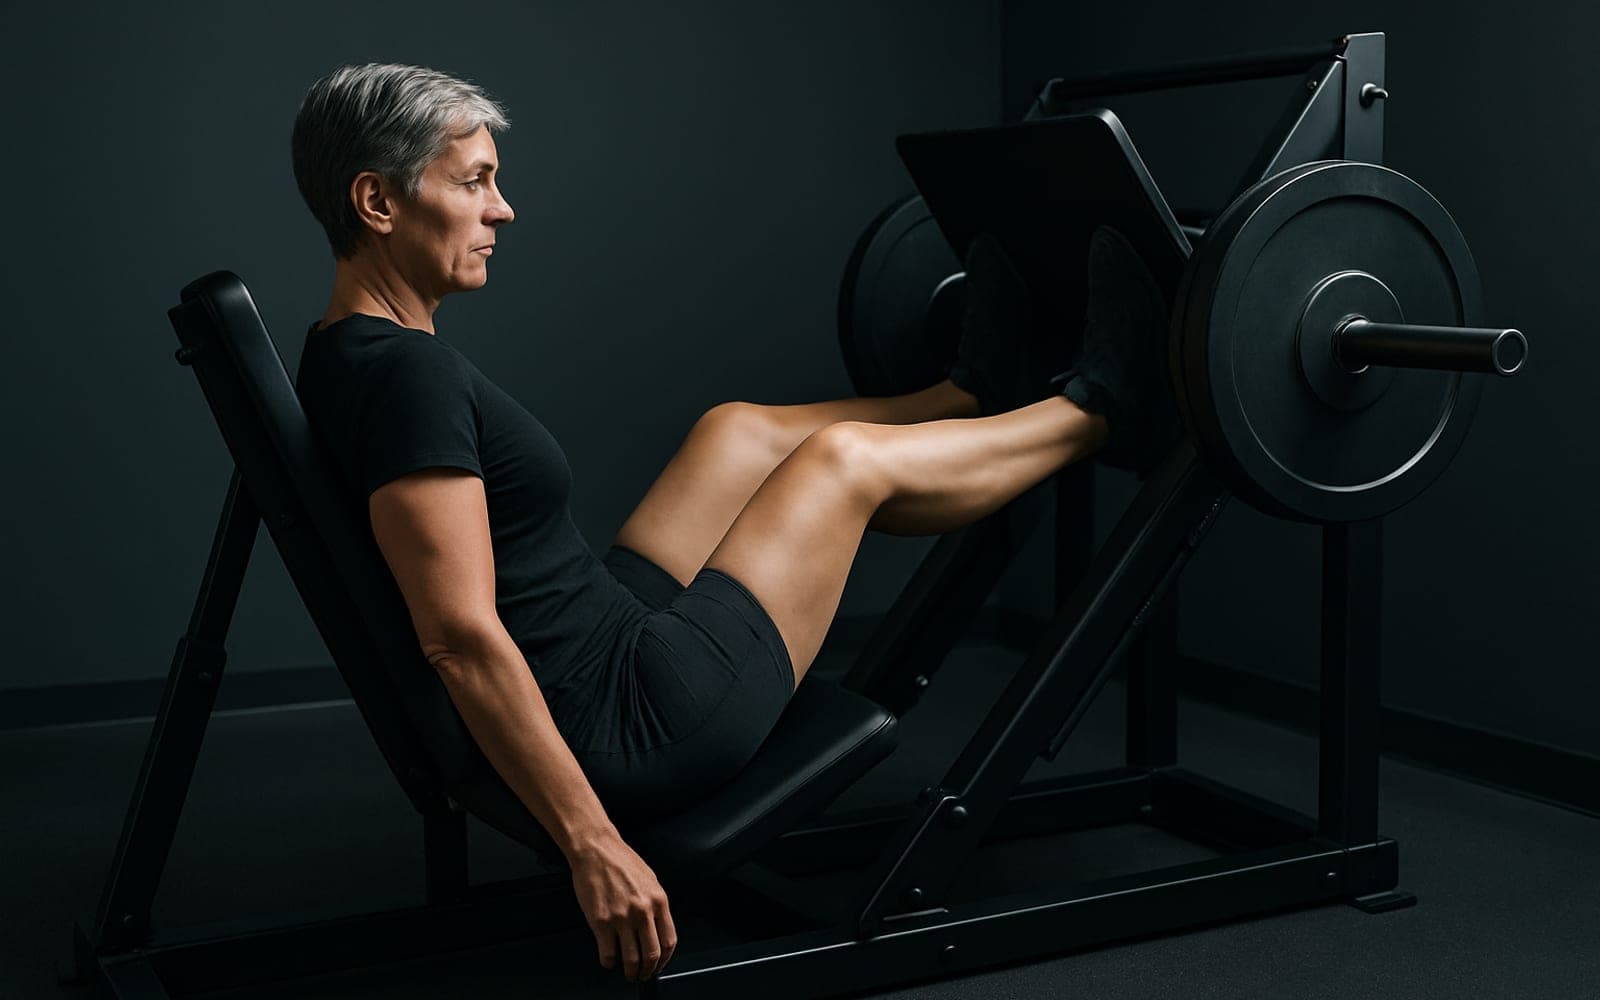
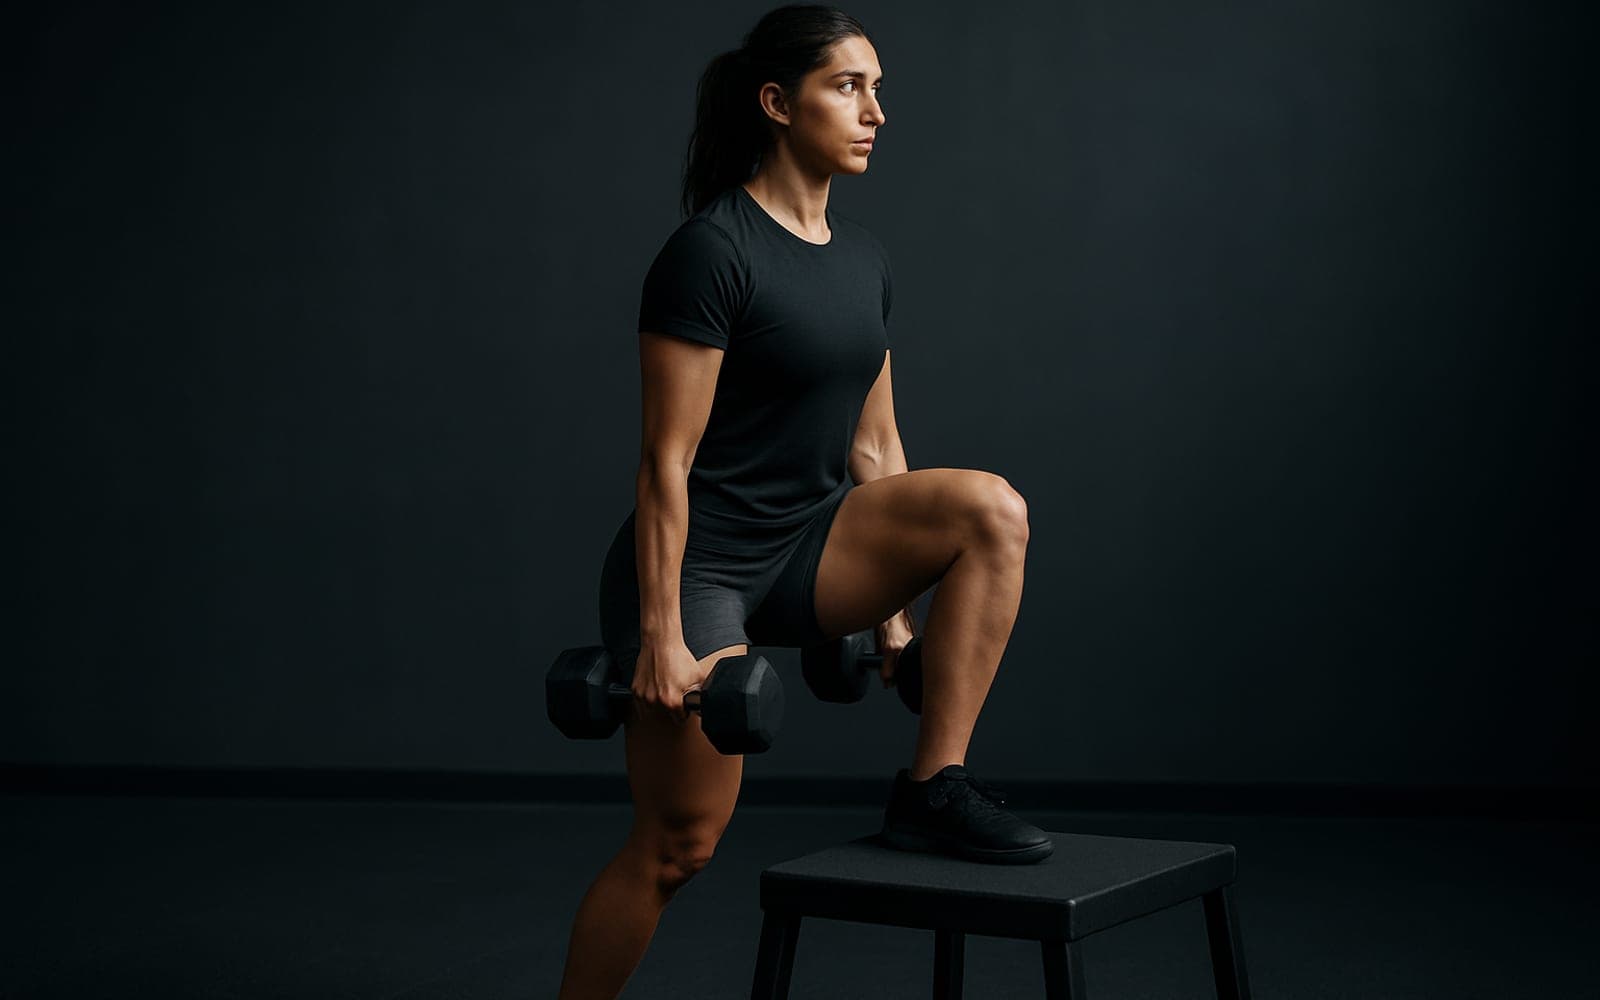
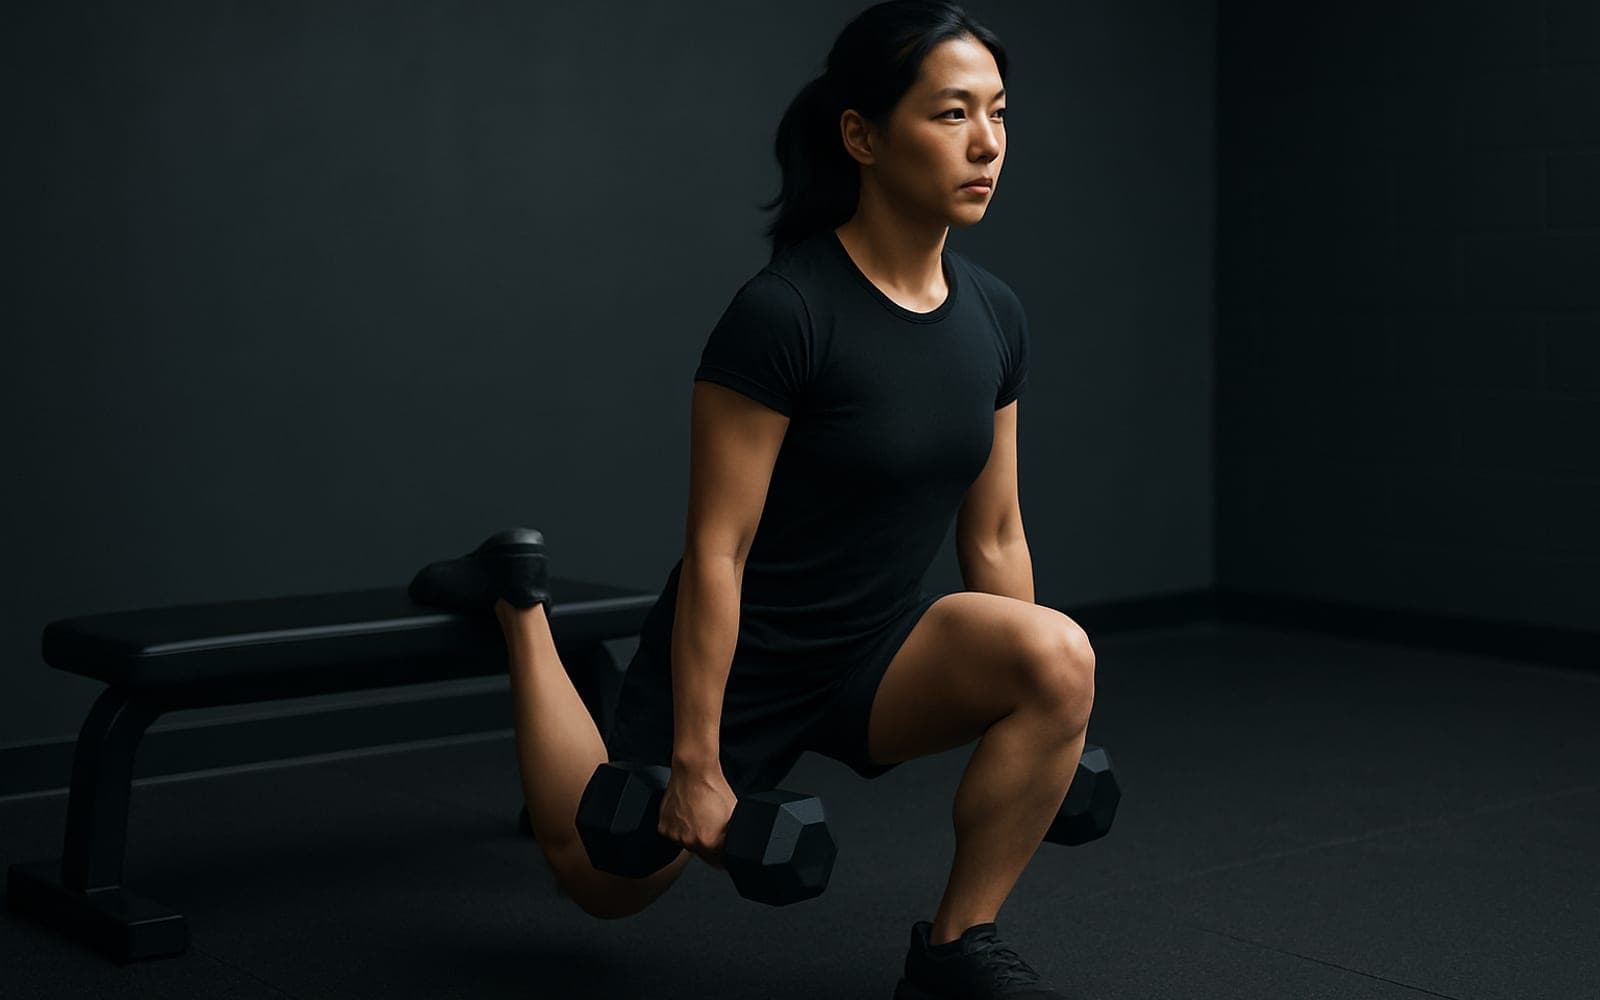
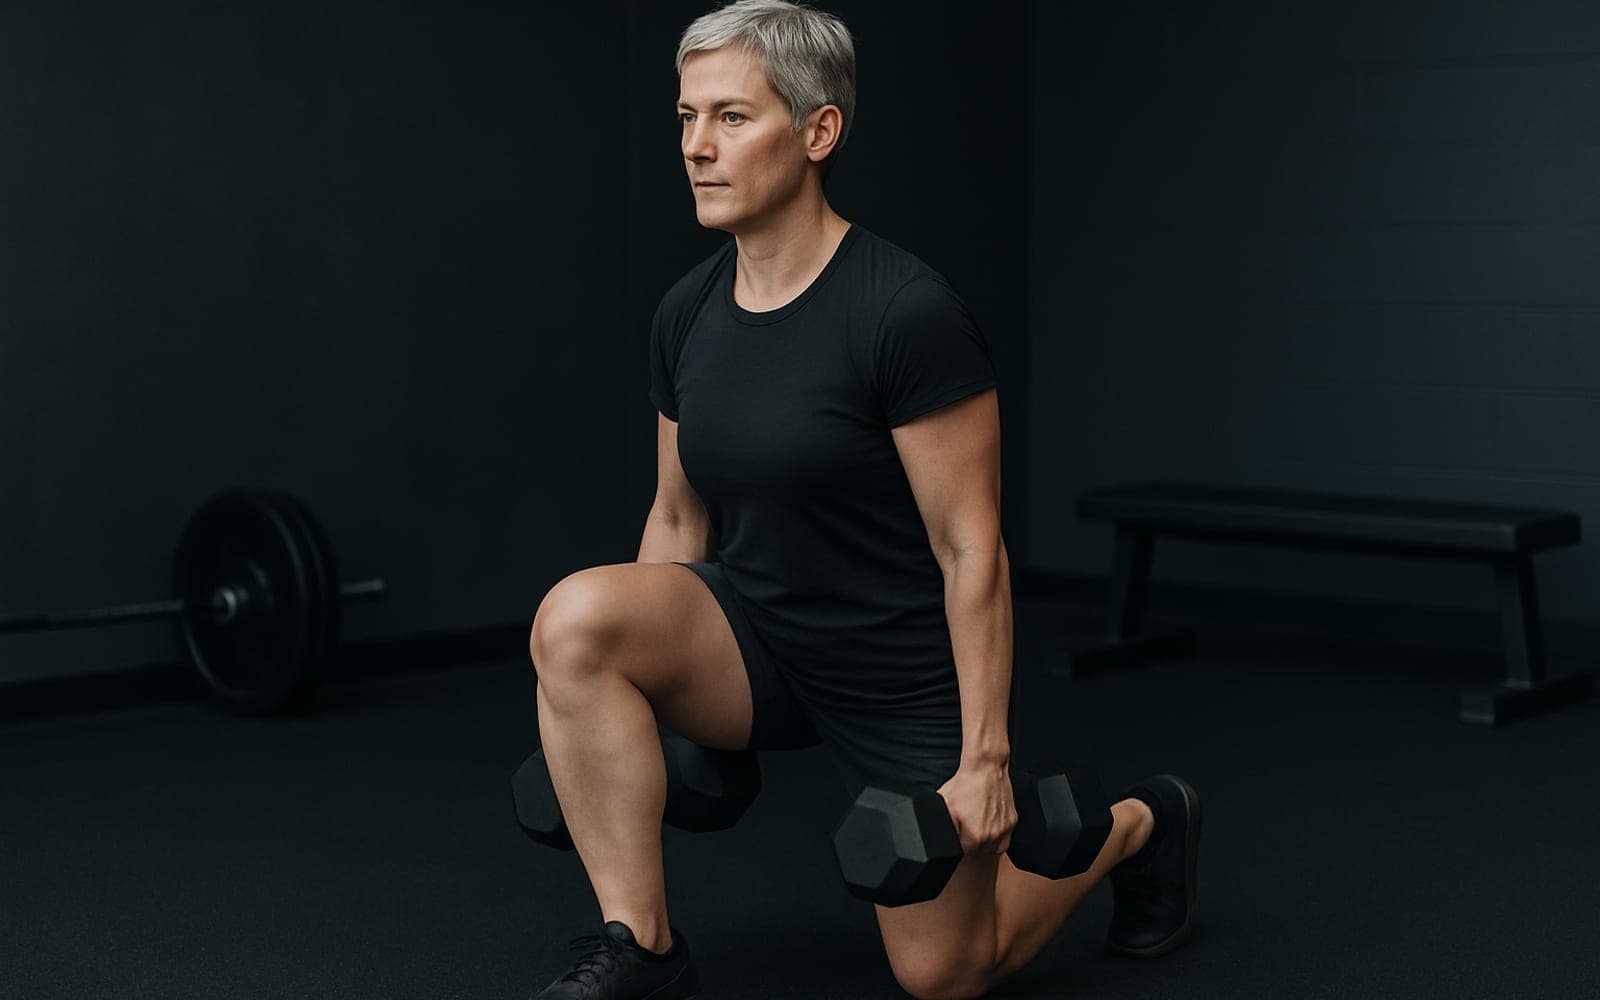
Reverse Lunge, Bulgarian Split Squat, Leg Press all train the same lunge pattern with different equipment, so any of them works when the machine is busy or your gym does not have it.
What are the most common curtsy lunge mistakes?
Front knee caving inward; Twisting the torso. Step one foot diagonally behind and across, lowering into a lunge; drive back to standing. Emphasizes the glute medius.